Ziora AI · User Guide
How to Use
Ziora AI
9 steps. From sign-up to your first generated design.
Click 'Ziora' in the top navigation bar.
This opens the Ziora overview page where you can learn about features and pick a plan.

Pick a plan — start free with Economy, upgrade whenever you need more.
Scroll down on the Ziora page and click 'Choose Plan'. The Economy plan is free to start.

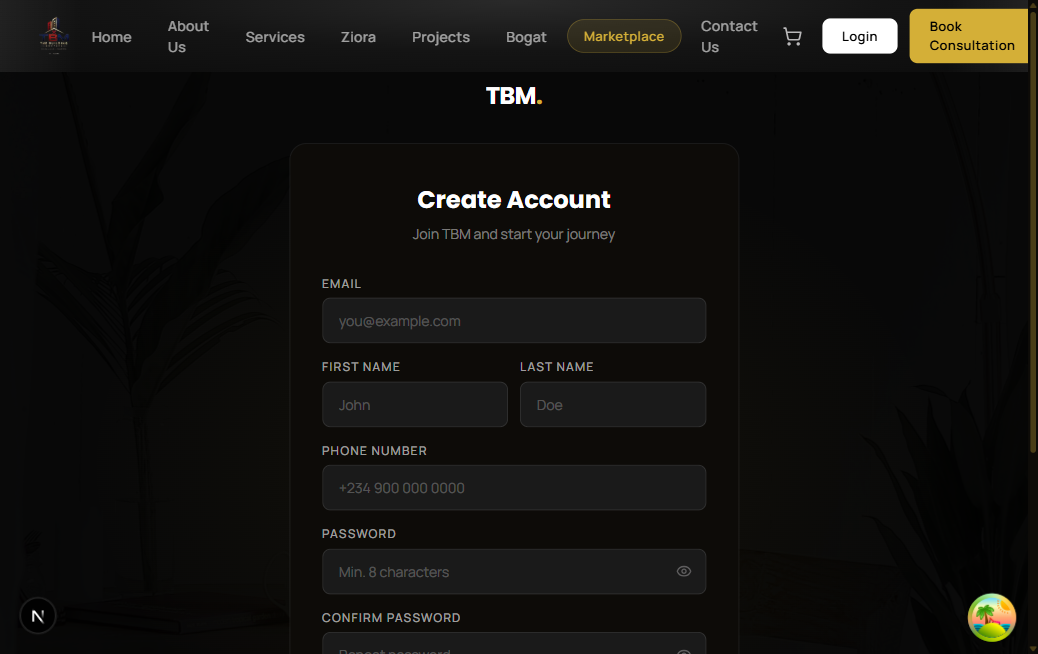
Don't have an account? Click 'Login' → then 'Sign Up'.
Fill in your name, email, phone and password. Takes 30 seconds.
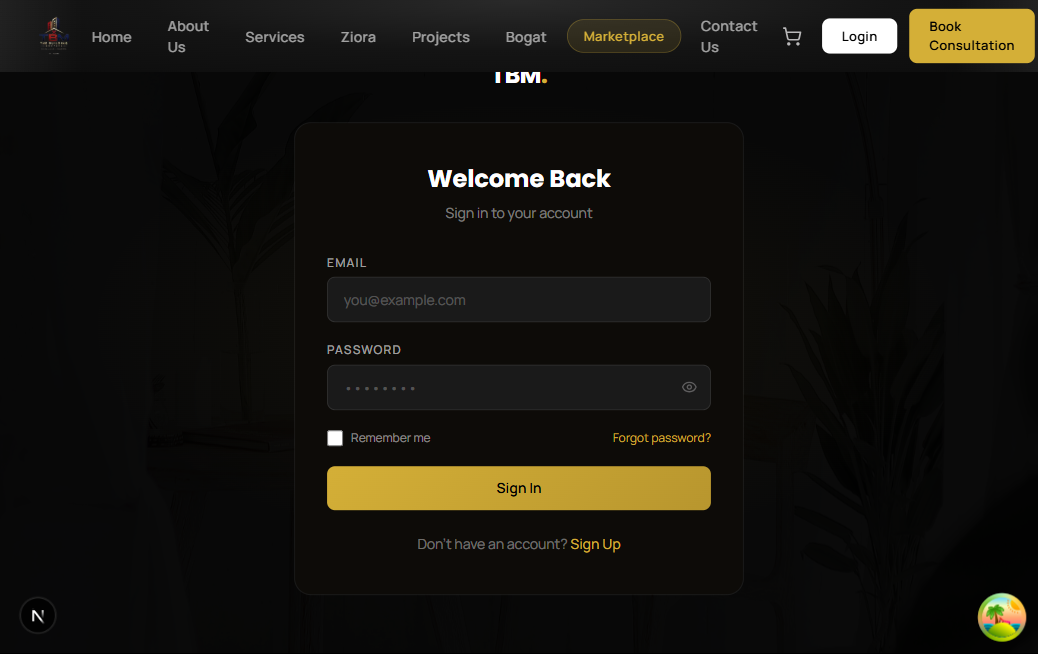
Already registered? Enter your email and password, then click 'Sign In'.
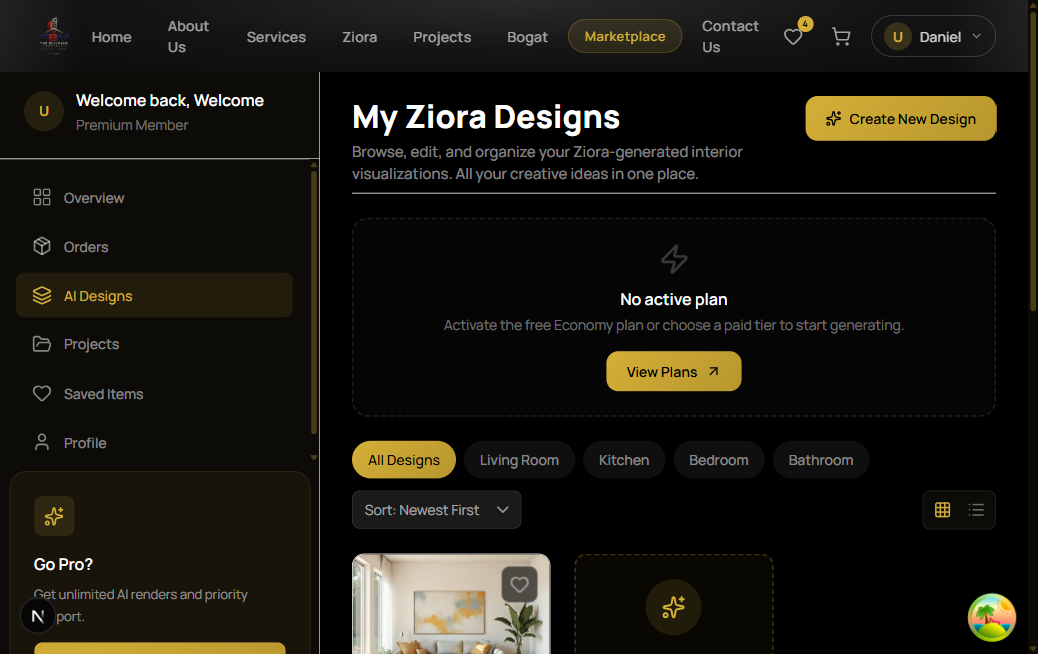
Once logged in, click 'AI Designs' in your sidebar, then click 'Create New Design'.
The gold 'Create New Design' button is at the top right of the page.
Choose 'Still Image' or 'Video Tour', then describe what you want.
Write in plain English — e.g. 'A modern bedroom with warm wood tones and soft lighting'.
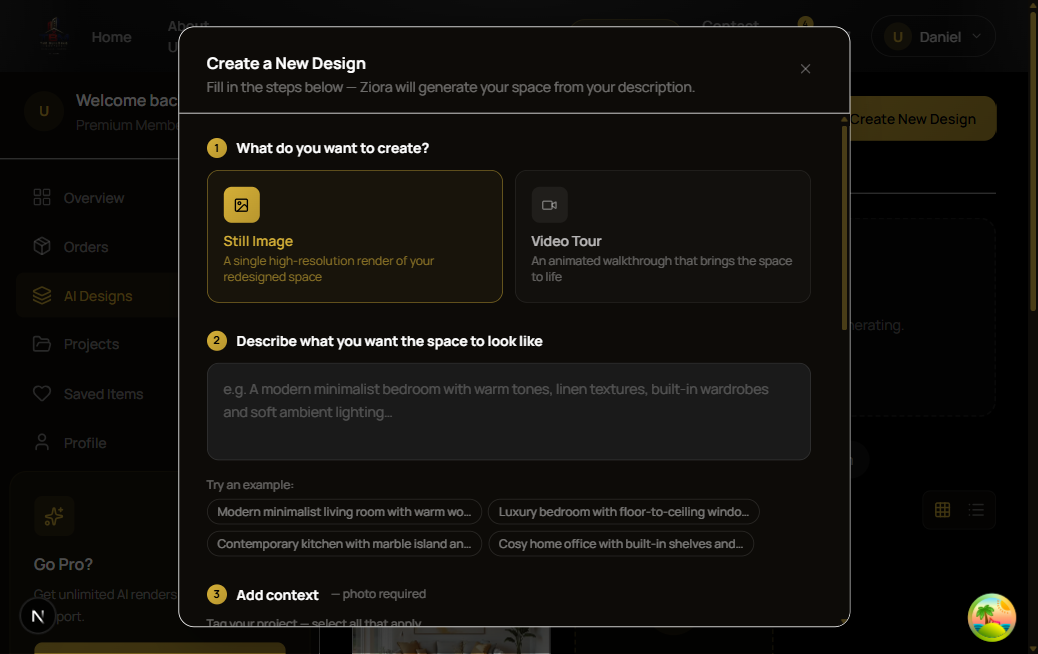
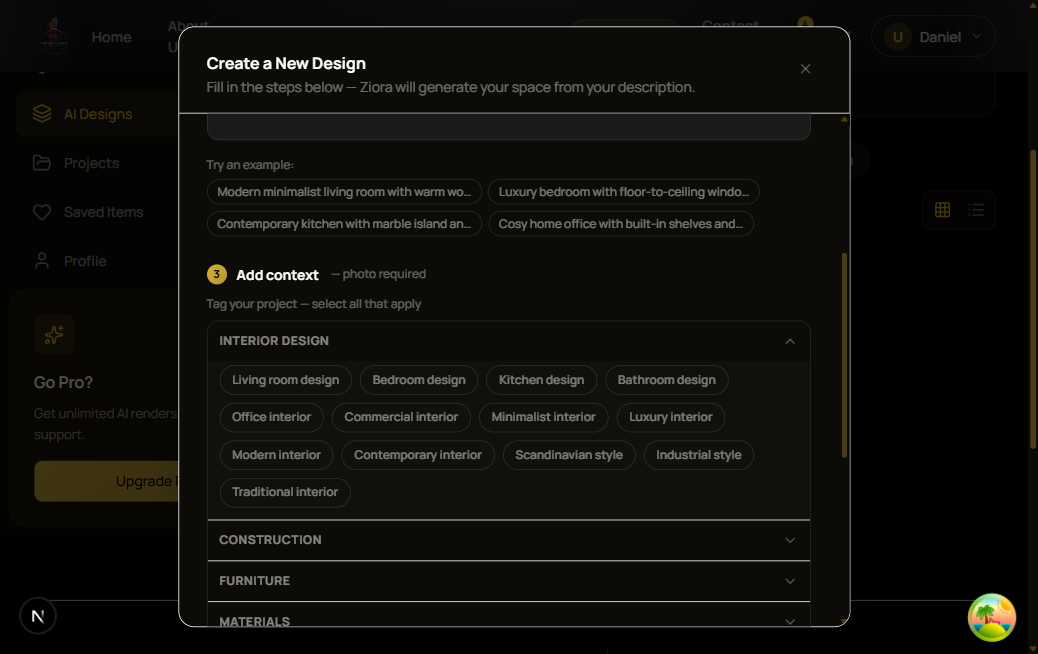
Select the style tags that match your vision.
Tap chips like 'Luxury interior', 'Scandinavian style', or 'Bathroom design' to narrow the style.
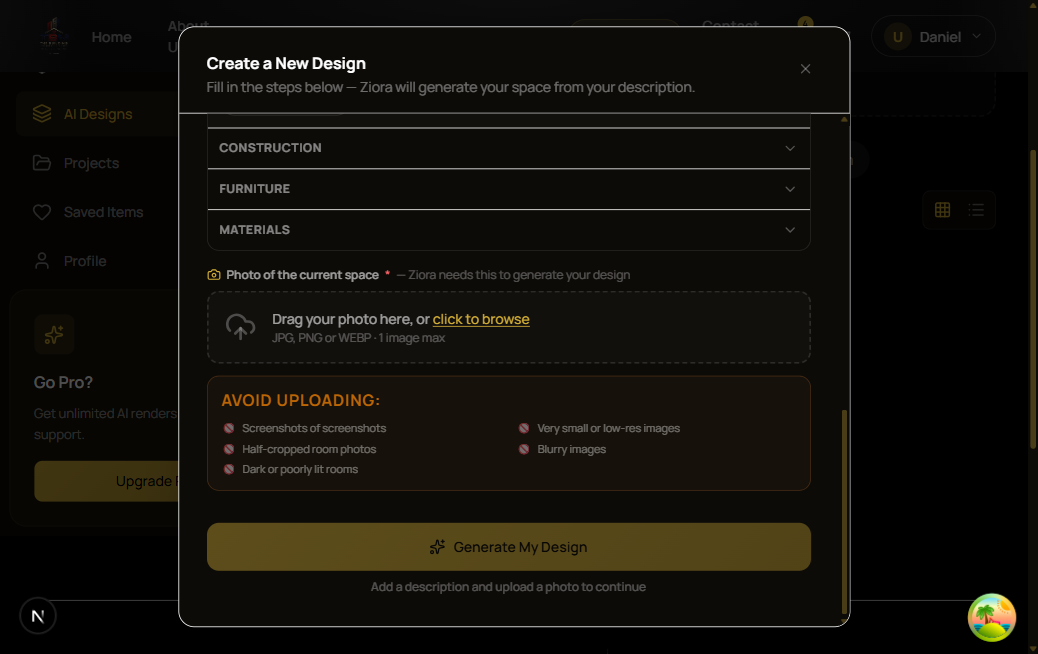
Upload a clear photo of your room, then click 'Generate My Design'.
Use a JPG or PNG. Avoid dark, blurry or half-cropped photos for best results.
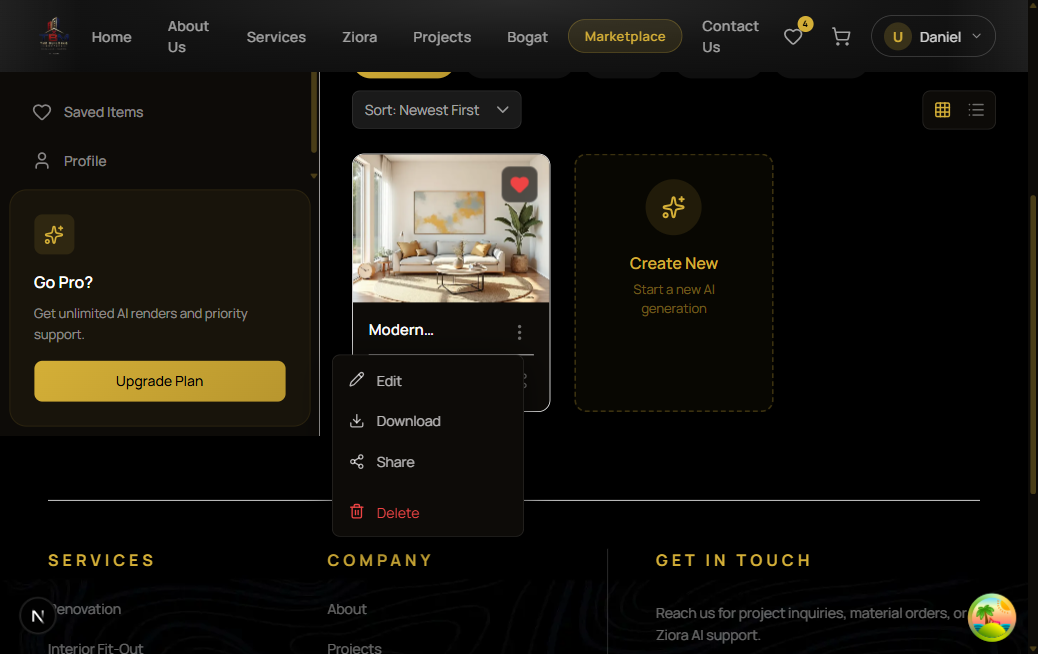
Your design appears as a card — click '...' to Download, Share, or Edit.
Use 'Share' to copy a shareable link. Use 'Download' to save the image to your device.

Zoom in — actions available on each design card
Ready? Start Designing.
Free to start. No credit card needed.